
Searching for suitable clothing materials and patterns can be a daunting process. The answer? Acquire “An Ultimate Guide for Apparel Pattern Making”! Our guide is here to provide you with the guidance you need to ensure that your apparel pattern is perfectly crafted every time. Whether you’re a novice or experienced in apparel pattern making, our guide is passionate about helping you raise your creative game. With this tool at your disposal, not only will you find success with your projects, but your wildest dreams will be close to reaching you!
What is Pattern Making
Pattern-making for apparel involves using various tools to transform fabric into a garment. It’s the art of creating a two-dimensional outline that, sewn together, would become a three-dimensional clothing item with all the necessary openings, closures, and darts. Creative pattern makers take garment design sketch from concept to reality by accounting for things like fit, drape, performance, fabric characteristics, cost, and production times, making them an integral part of fashion design. Simply put, it’s creative pattern magic!
Tools required for pattern making?
Crafting the perfect pattern is an art form! While a creative eye and skillful hands are essential for any winning design sketch, there’s no denying that having the right tools for pattern-making is just as important. Depending on your method of choice, draping or flat pattern methods, you can expect different items in your toolbox. Here’s a handy guide to help you navigate the basics:
Draping
- For draping, some must-haves include dressmaking pins and scissors. A mannequin, or dress form, is also invaluable – especially if you need to make alterations or adjustments to your garment ‘in situ.’ You will also require lightweight fabric versions of whatever material you are using; these allow you to shape and mold pieces without altering the original fabric itself while allowing you to gauge how best it will fit on the body before manufacturing.
- Alternatively, if sewing isn’t quite your thing, then clay –yes, clay– is another good alternative for draping; it behaves much like fabric but doesn’t have any stretch properties – great for experimentation with simple patterns. If this sounds daunting, don’t panic; there’s always the option of a flat pattern for those who prefer their style a little less Wild West!
Flat Pattern
- Flat pattern utilizes paper templates (also known as slopers) that are created via measurements onto grid paper; these are used as one would use graph paper – draw up a scale version of the design onto paper patterns templates marking crucial points such as necklines, armholes, etc.
- Once complete, you can either lay this flat against your fashion fabric and cut from your drawing Or trace them onto a light-colored plate board/card, which can be used repeatedly. For this technique, accuracy is vital to ensure Tape measurements to create, and calipers come out of their cases.
- Lastly, it seems obvious, but always remember that pencils, rulers, and erasers ensure those details are finally tallied up correctly and quickly corrected.
Knowing what tools are necessary for the job at hand is essential to get it done correctly. By following the simple steps listed above, you can dive into the world of fashion and create stunning masterpieces!
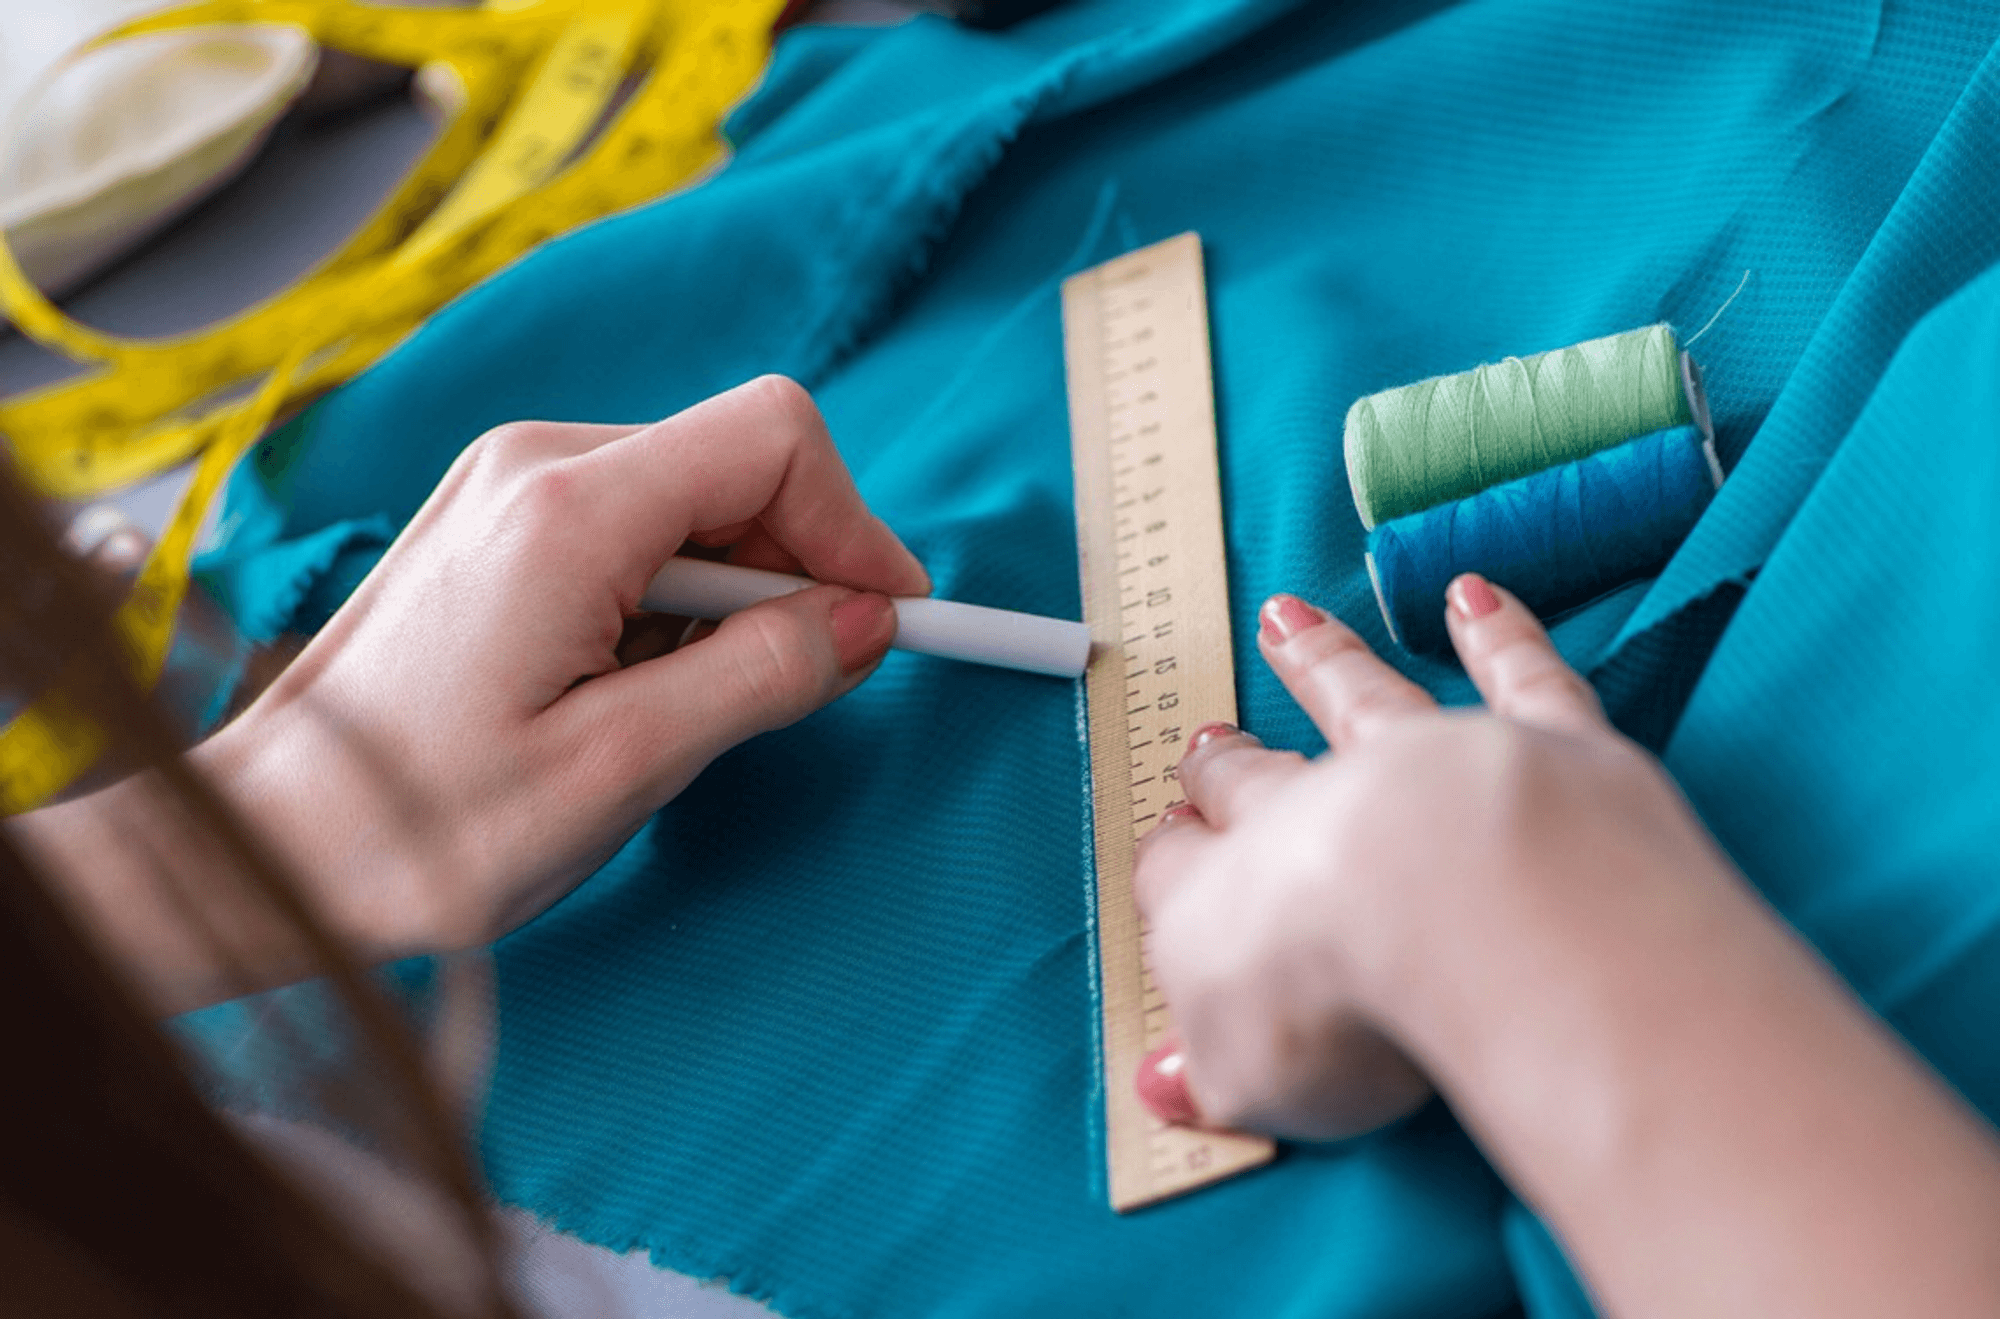
How do you determine your body measurements?
Taking accurate body measurements is essential in ensuring that your clothes fit properly. Knowing your measurements makes shopping online easier and ensures you look better when wearing any new outfit. While it may seem intimidating to measure yourself, it’s pretty simple to do with a bit of practice.
- The first step to measuring your body correctly is to get all the proper equipment – a soft tape measure, a mirror, and some paper or fabric. It’s also essential that you are wearing comfortable clothing so that your measurements accurately reflect your shape.
- To begin, wrap the tape measure around the fullest part of your chest and record the measurement on paper or fabric. Please do the same for your waist by wrapping the tape around its narrowest point, then your hips at its widest point below your waist. In addition, determine where you want pant legs on trousers or skirts and measure from around your thigh for tops or bottom hems for bottoms – make sure it fits comfortably!
- Many people forget about their arms when determining their body measurements, but this should not be overlooked, as sleeve lengths can vary substantially between brands – you don’t want to end up with too long sleeves! To measure both arms accurately, take two separate measurements – one from the nape of your neck down the length of the arm and another just below your armpit.
- Now onto heights – not just overall height, but sometimes different styles require additional detailing across specific areas such as waist height, armhole height, etc. Measure yourself from head to toe and jot down all other information as necessary.
- Finally, once all required notes are recorded, compare them with a fashion industry-standard chart to ensure the accuracy of reported information and make adjustments if necessary before buying any new items of clothing online!
What is a basic pattern?
Garment production follows a basic pattern that can be expanded into many different garment styles. This basic pattern, also known as a block pattern, is the building block for any clothing item and dictates how fabric needs to be cut, sewn, and styled.
- The block pattern provides the structure upon which all garment designs are formed and is created by matching the body measurements to create against the high, low, and side points of garments such as jackets, coats, skirts, or pants. It should include ease of movement and provide ease around necklines, armholes, yokes, or collars for it to fit correctly on the body.
- In addition to having ease (excess fabric for comfort), fashion designers might add pleats, darts, and seams to their block patterns to create their desired look. These structural details usually appear at back darts pointed inward from the waistline to give a more fitted silhouette or at places where sleeve caps come together.
- Pattern makers have been known to mark pattern pieces with critical points related to notches necessary for assembling garment pieces in one place. Cutting out variations of shapes according to proportions is also an essential part of creating decent garments; however, it involves having advanced skills compared with traditional methods like overlock stitching or topstitching.
- Understanding how garments are constructed within this basic pattern is essential to becoming an expert fashion designer. From understanding how much allowance fabric needs to manipulating dart placements – these basics will spark creativity among fashionistas so they can come up with creative yet perfectly wearable designs that reflect their signature style!
What is Garment Ease, and why is it important?
The garment’s ease is one of the essential components of clothing and its construction. Often, this term is used in the apparel industry and measures how comfortable an item of clothing can be. There are two main parts to garment ease: wearing and design.
- Wearing ease refers to the additional room that should be put into a garment for the person wearing it. This measure allows for comfort in movement and personal preference within certain boundaries, such as acceptable social finish standards.
- Design ease allows extra fabric within garments to give them shape and fit where required. It’s designed to ensure enough room around specific critical body measurements like seam lines, darts, or pleats for styling purposes so that your clothes look their best when you wear them.
Garment ease is important because it affects the overall look and feel of clothing.
- More space should be considered to avoid an unwanted bagging effect, while too little allowance can make a garment uncomfortable or more mean-fitting than initially intended by the designer.
- Knowledgeable adjusting the garment ease can even affect fabric costs since fewer yards are needed, which equals lower material costs but often at the cost of compromising desired quality standards or other measurements such as elasticity, weight, insulation value, etcetera.
- The amount of garment ease also sparks a chain reaction through many other factors like sewing processes, labor costs, time allocation, production output quality control management, efficiency, ergonomics, etcetera. So it’s no surprise why it’s so important!
How do you determine your garment specs?
Measuring your body and understanding the terms and labels of garment specs is integral to determining your perfect fit. Whether you’re investing in a new wardrobe or tailoring something for yourself, the following tips for taking measurements will help ensure the clothes you order fit just right. Before tackling the basics, remember that everyone has different body proportions, metric systems may vary from region to region, and most importantly, mistakes can be made – so always double-check all measurements. With that in mind, here are some essential tips for taking accurate measurements.
- Start by investing in a flexible cloth measuring tape – this should be standard for any tailor or sewist worth their salt. Depending on where you live, ensure that measurements can be taken in either centimeters or inches. Be aware of contrasts between US and British sizes and general international sizing charts found online. Try to take all measurements over the actual garment – if possible – to give a complete picture of how each item fits your body shape.
- Regarding garments such as trousers and dress shirts, note which areas get “measured” and labeled differently depending on style type – such as ‘waistband’ and ‘hemline’ for pants or ‘neck size’ for collared shirts. Similarly, note what areas get measured but not labeled, such as socks length or shoulder widths, when necessary based on the desired look. Also, consider overall length since some items are made with specific styling elements like excessive layering, hemlines, jackets, etc.…that would need enough material fabric to achieve these looks correctly without interference. This could mean extra room at neck line or waistband area depending upon how much fabric was estimated during the production process before sewing began!
Keep these things in mind while discovering separate specs needed according to various pieces of clothing, so they coordinate well together too!
How to draft a flat pattern?
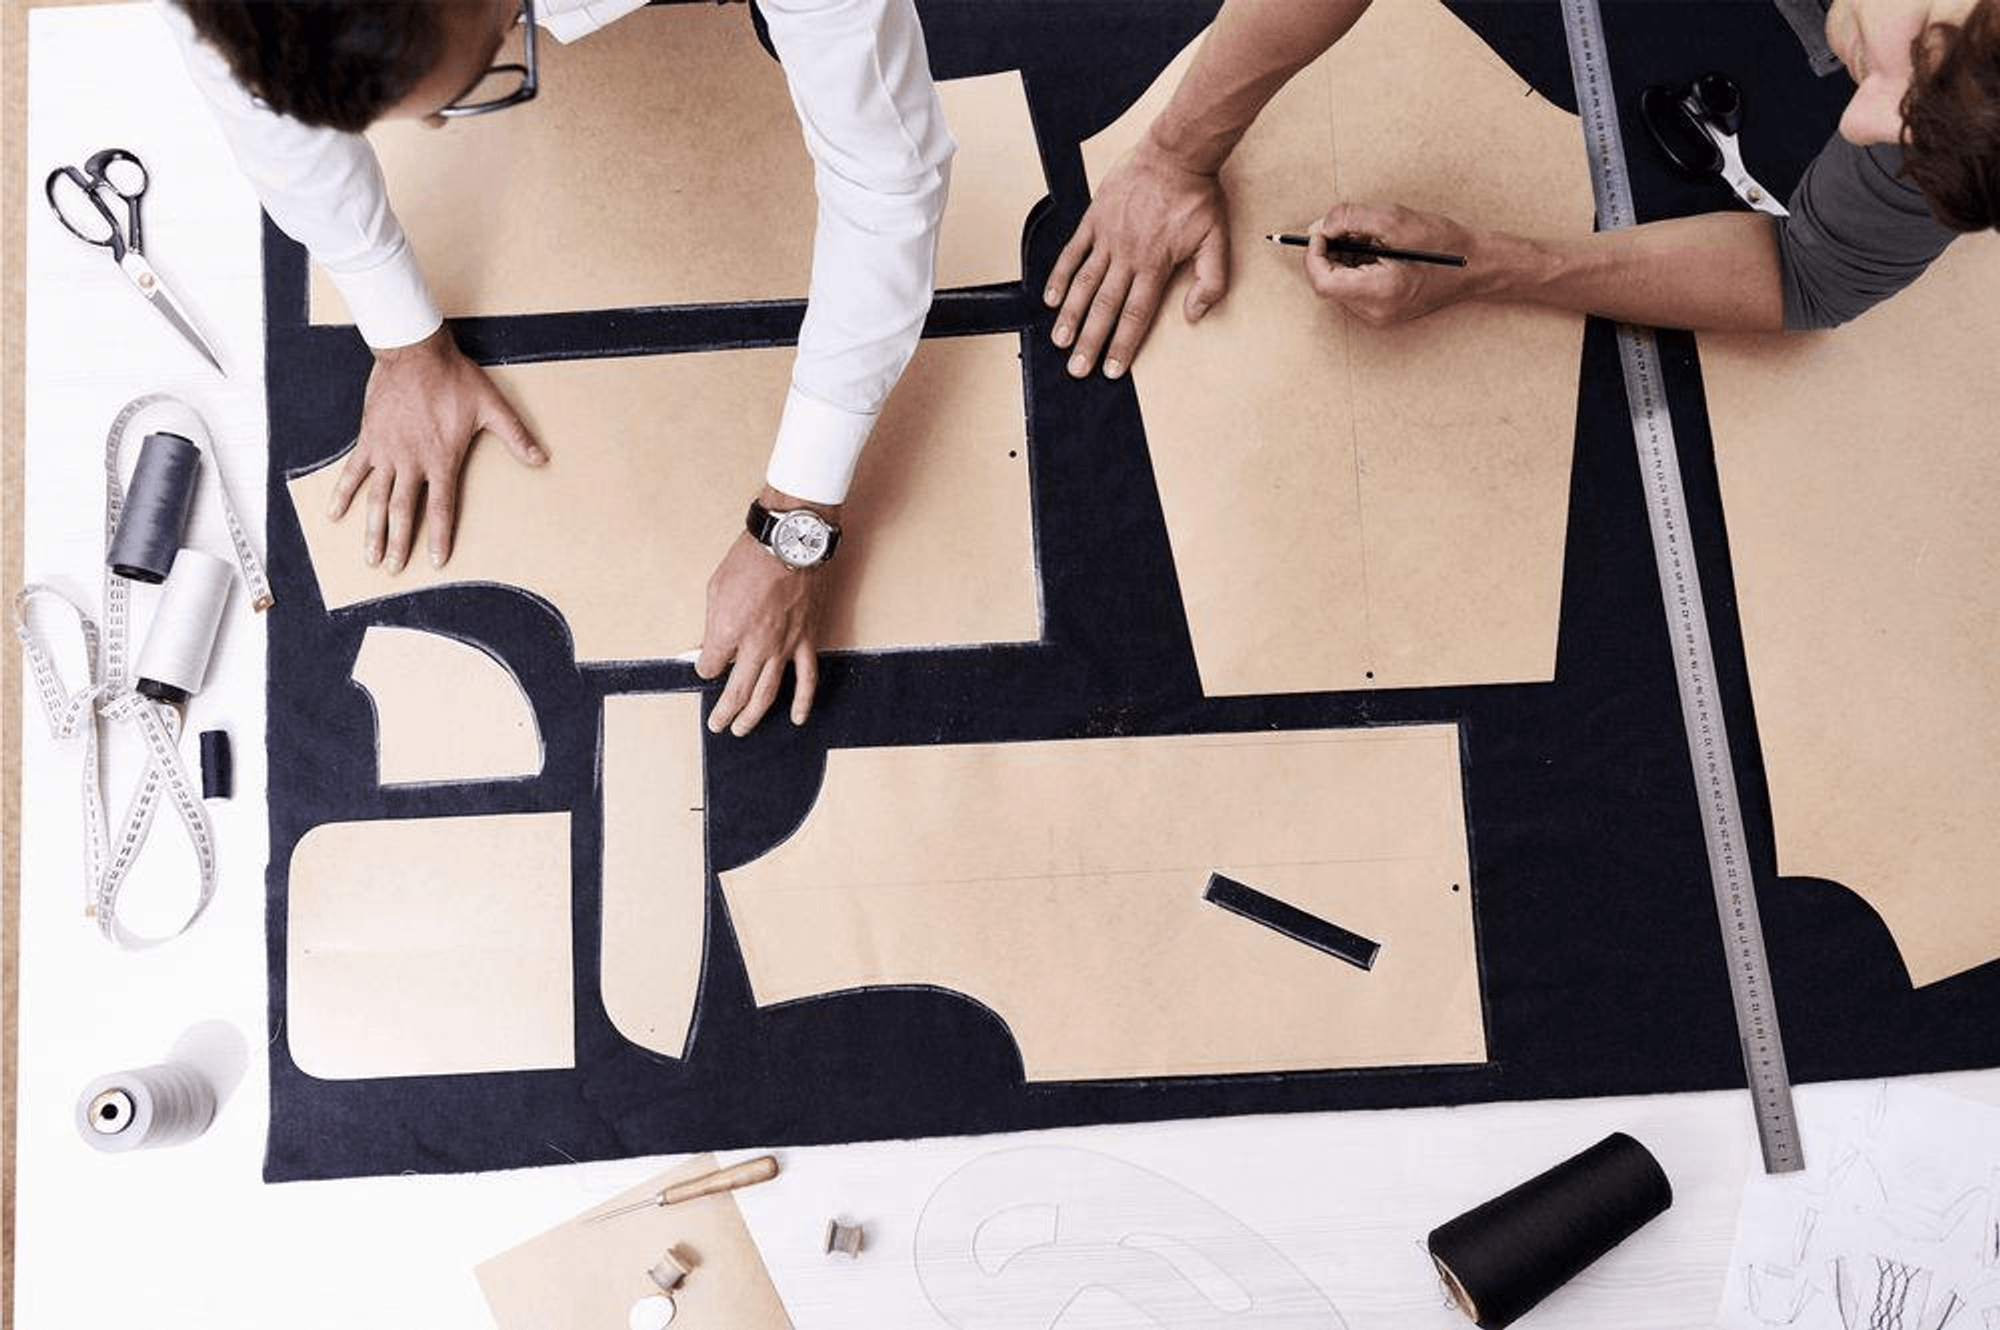
Drafting a flat pattern for garment making may seem daunting to the uninitiated, but it is not as tricky as it might sound. Anyone can learn how to draft an accurate and well-fitting flat pattern with a few simple steps.
Tools
You will need a blank piece of paper and some essential sewing tools.
Type of garment
Once you have gathered your tools, the first step is to decide on the type of garment you plan on making. This is important because different types of garments require different measurements and drafting techniques. For example, drafting an A-line skirt would require taking different measurements than creating a structured bodice.
Drafting steps
Once the overall shape has been determined comes the actual paper drafting methods.
- First, take the basic measurements like bust, waist, and hips into account and ensure those are accurately marked on the paper with clear lines or arrows if needed.
- Next comes marking seam allowances which usually range from 5/8″ – 1″ depending on preference or garment style requirements; create two sides of seams allowance at all significant points throughout your draft pattern pieces, as these will be used during the construction your garment later on in the process.
- Mark darts for shape control around curves and then connect them up to create armholes or necklines if needed for what garment (long sleeve blouse vs. sleeveless dress).
- Lastly, measure out any panels you may want, like pleats and fabric gathering for special design effects, before connecting those with other pieces before cutting out and constructing your garments!
So please don’t fret about learning how to draft a flat pattern for garment making; with enough practice, it becomes second nature!
Wrapping up
Learning the ins and outs of garment pattern making is no small feat, but with a bit of practice and perseverance, you can quickly become an expert in creating custom-made garments. Invest in quality tools like flexible cloth measuring tape, get to know international sizing charts, and perfect your flat pattern drafting technique before tackling more challenging projects!
With decades of experience creating custom clothing, Lezhou Garment is your go-to source for pattern-making. Our team of experts can provide you with trusted advice on various topics related to apparel patterning – from taking the correct measurements to flat drafting and more! Reach out today for reliable guidance, and get ready to take your custom clothing designs up a notch!